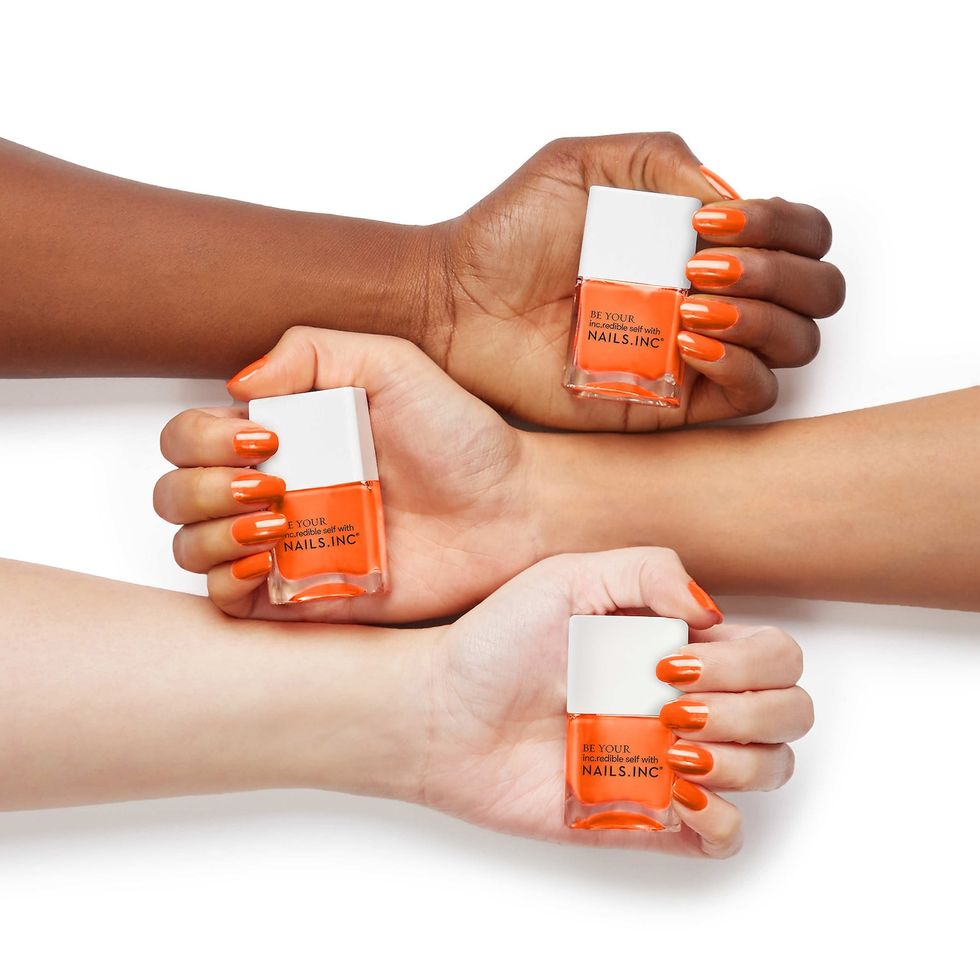
Whether you’re looking to treat yourself to a much needed self-care moment at home or just want to save a little money, doing a manicure at home is a great idea! Just ask Ree Drummond: Even though you might not always see her wearing nail polish (she cooks a lot, so it’s not always practical), she loves a good at-home manicure—especially if she has a fun, glossy nail polish.
To recreate that salon experience, you’ll want to master more than just brushing some paint onto your nails. And it’s not always as easy as it seems to get that salon-quality look. So we called in an expert: Niye Aniekan-Attang, founder of the beauty brand Ace Beaute, to share product recommendations, helpful tips, and a step-by-step for that perfect DIY manicure. Niye’s brand even has a handy false luxe manicure nail kit so that you can get a hassle-free mani without having to wait for any polish to dry!
Before you get started, one of the most important things to remember is that you need to be patient. “To get the best results, it’s always a great idea to go slow instead of rushing,” Niye says. So set aside a chunk of time, and let’s get polishing! (For more at-home beauty tips, check out how to do a pedicure at home and how to get hair dye off your skin too.)
At-Home Manicure Must-Haves
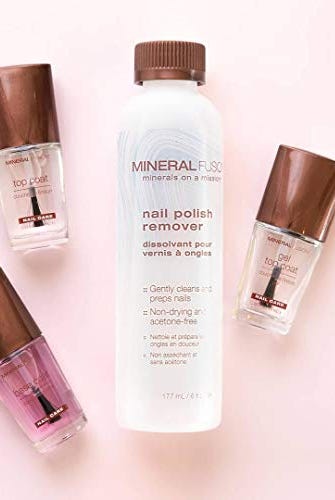
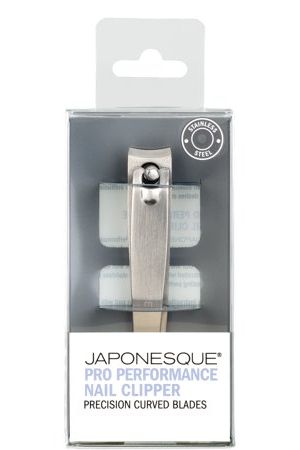
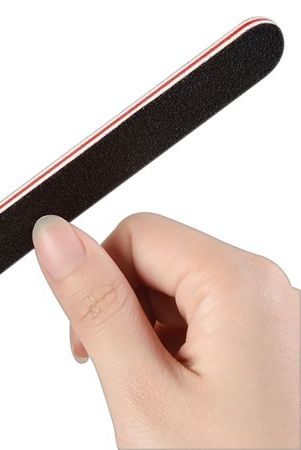
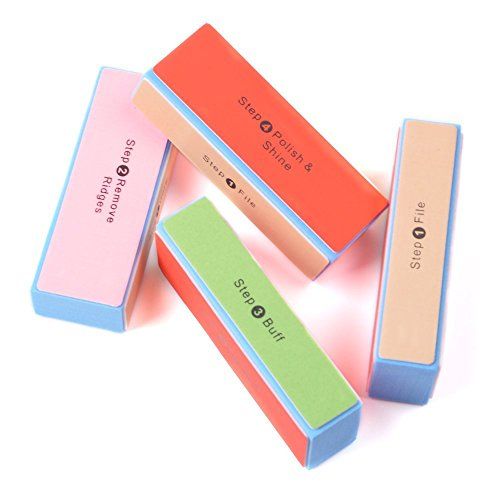
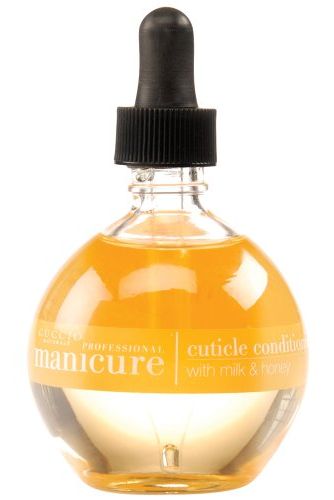
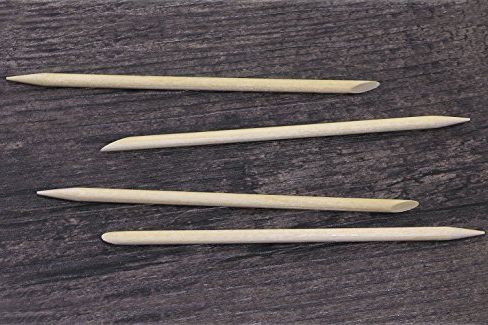
Before getting started on your manicure at home, you’ll need the right set of tools: nail polish remover, nail clippers, an emery board, a nail buffer, a cuticle pusher, cuticle oil, cotton pads, a base coat, nail polish, and a clear topcoat.
Step-by-Step Manicure Prep
Now that you have everything, here’s how to prep your nails before you start painting.
1. Start with a clean slate.
The best manis are done on clean, bare nails. At a salon, they would never start painting your nails without first cleaning off any remnants of old polish, so why would you? Use nail polish remover to get rid of any existing polish.
2. Trim your nails.
Using nail clippers, trim your fingernails to your desired length (unless you’re already happy with your length). It’s best to start clipping your nail at the side and work your way across, otherwise you might end up splitting your nail.
3. Shape them.
Now that your nails are cut, use the emery board to shape your nails to your preferred nail shape: oval, square, rounded square, or any other variation. This part all boils down to personal preference.
4. Smooth them out.
After shaping up your nails, use the nail buffer to shine them. You might wonder if buffing is even necessary, but this process helps to create a smooth surface for the polish. It’s totally worth it!
5. Push back your cuticles.
It’s time to pay some much-needed attention to your cuticles. When managing your cuticles, you’ll get the best results if they’re hydrated. Put some body oil onto your fingertips and gently massage it into your cuticles. Use the cuticle pusher to gently push them back.
6. Wash your hands.
After this, you can wash your hands with warm, soapy water or put nail polish remover on a cotton pad and wipe your nails clean.
“One of the most common mistakes that people make when doing a DIY manicure is not prepping their nails well,” Niye says. You heard it here first, folks!
How to Paint Your Nails
Now that your nails are clean and shaped and your cuticles are soft and pushed back, you can apply your polish. Follow these steps for a long-lasting look.
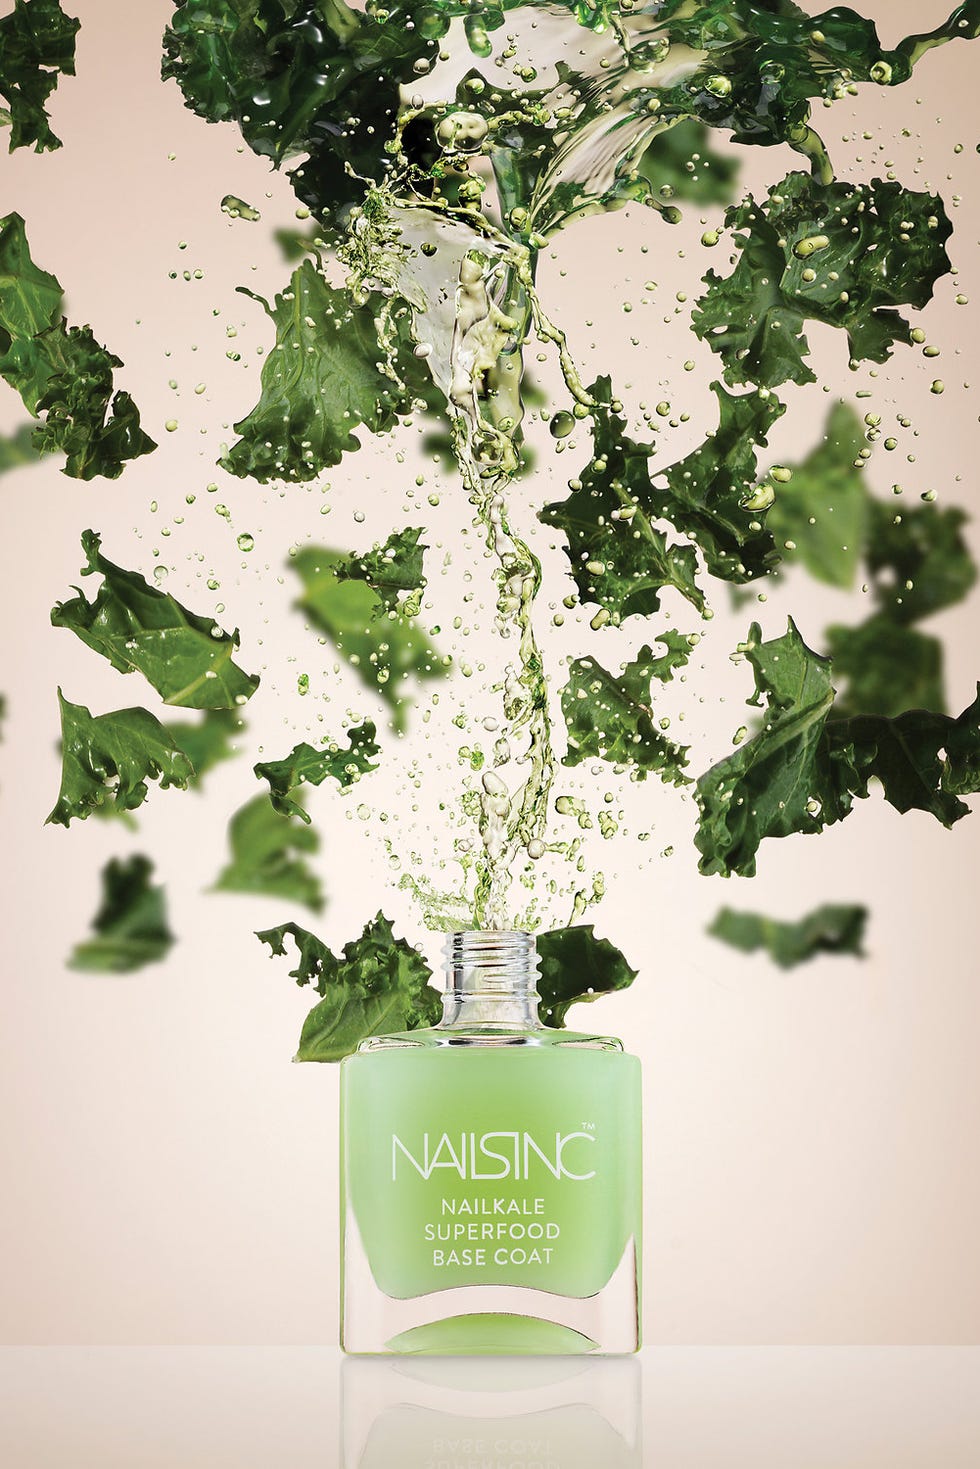
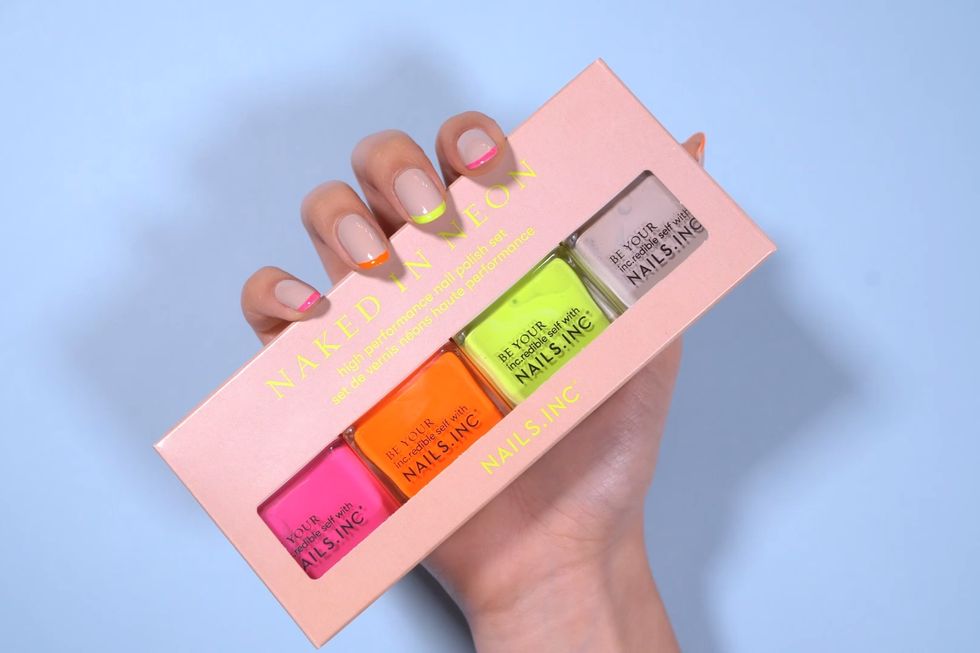
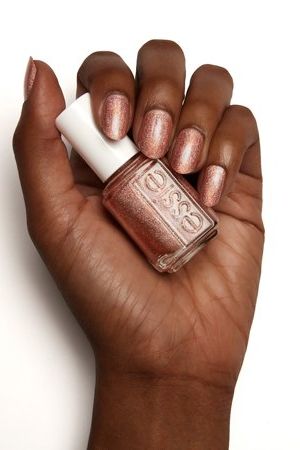
First, apply your base coat. Once the base coat is dry, you can start applying your nail polish. Apply each coat (two or three is usually enough) in thin layers and make sure that each layer is dry before going in for another layer. “When you don’t wait for each layer of paint to dry properly before applying the next, your nail polish can cake up,” Niye warns.
When applying nail polish to your non-dominant hand, Niye recommends going very slowly. She says that this will prevent nail polish from getting on other parts of your finger.
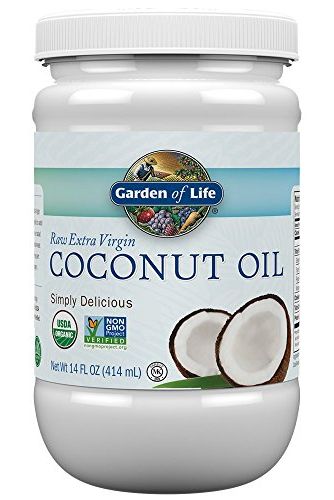
If you do end up with some excess nail polish on your skin, Niye recommends putting coconut oil on a cotton pad and rubbing the skin with it. If you don’t have coconut oil, nail polish remover on a Q-tip also works.
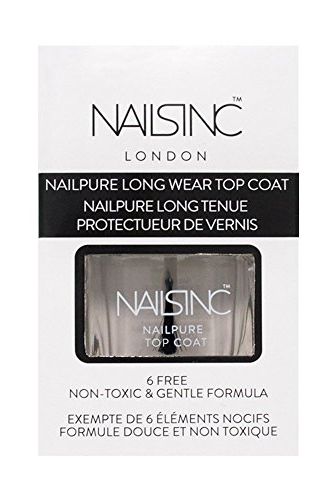
Once you’ve applied your nail polish, it’s time to finish with clear topcoat. This step not only gives you a shiny finish, but it helps seal in the color so your at-home manicure lasts longer.
How to Fix a Smudged Nail
What if you’ve finished your DIY manicure and notice you’ve smudged a nail? We’ve all been there, and you don’t have to start over again (phew!).
“The best way I have found to fix this is to take a little art brush and glaze over the smudge a few times with nail polish remover. Then apply a thin coat of the nail polish, and once it’s dry, seal it with clear topcoat,” Niye says.

